Hi all
Next up, I will going through briefly the lore included in the rulebook for Beastgrave.

The region called Beastgrave is a craggy a brutal land. At the centre of the region is a mountain so immense that the top is hidden within the clouds. There are many rumours regarding the mountain, from the mountain dragging itself across the landscape with huge talons, to the idea that the mountain itself is a trapped god.
Whatever the origin of the mountain is, it is believed that it lures explorers and adventures to it, by invading their dreams and promising treasure.
Surrounding Beastgrave are many tribes that any would be explorers would have to travel through first. Those who dare pass, find themselves in a land of deep gulleys and razor sharp rocks that would tear the flesh of the unwary.
As the adventurers draw ever nearer, they feel a sense of watchfulness. This could be the eyes of the pallid, ink-skinned tribesman, stalking them with flint spears and knives. Or maybe it’s the disembodied gauge of the mountain itself, watching, waiting.
Once they reach the foot of the mountain, the adventurers find its slopes surprisingly easy to climb, as there have been dozens of trials worn over time. Despite passing destroyed camps of previous adventures, and there remains, they continue to climb the mountain, being ushered on by whispers and promises of treasure.
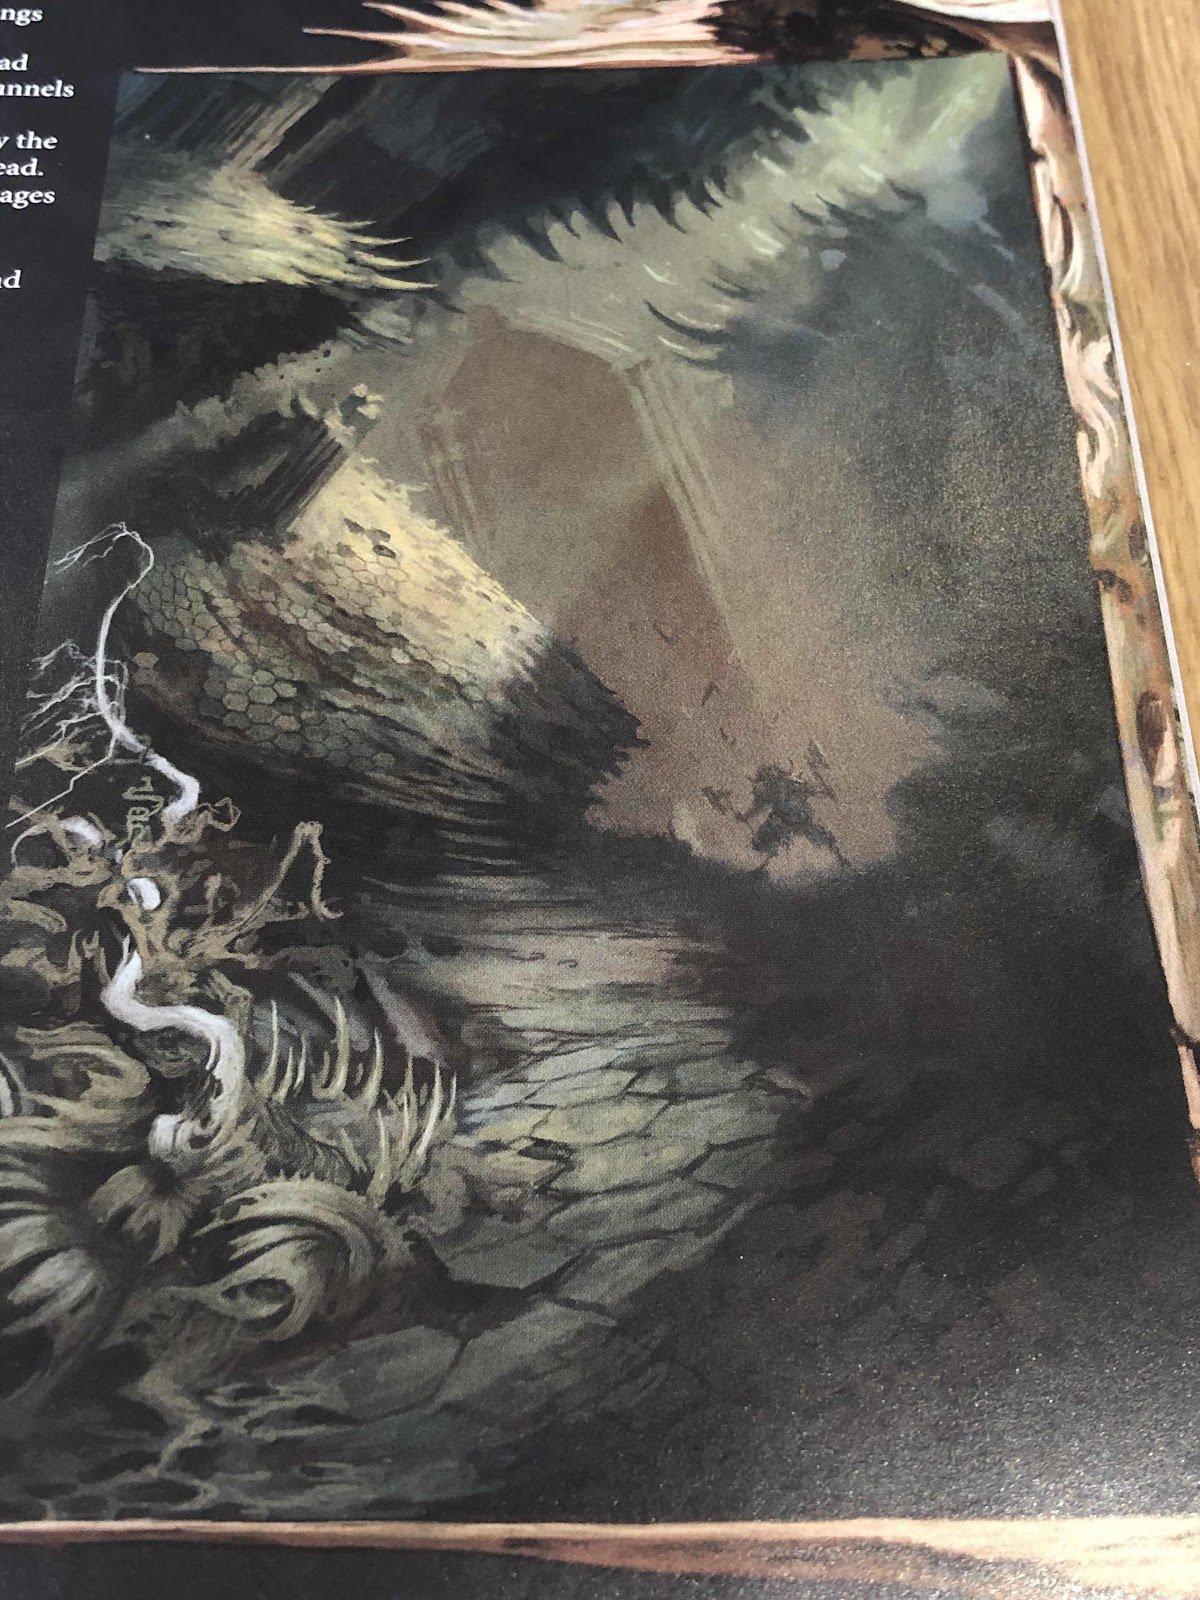
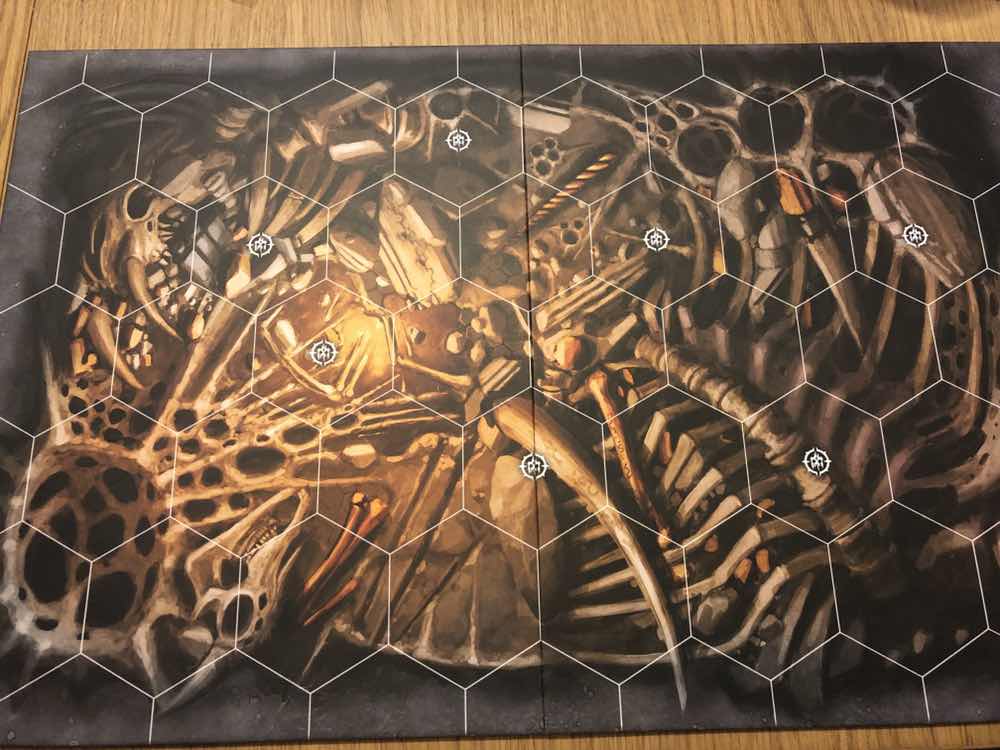
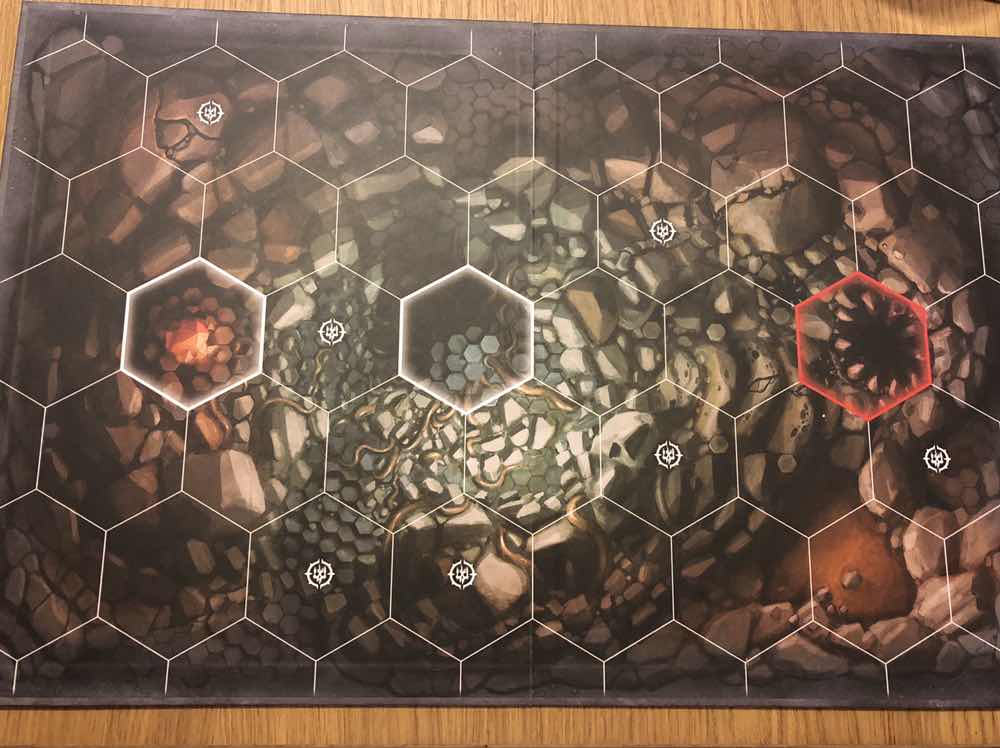
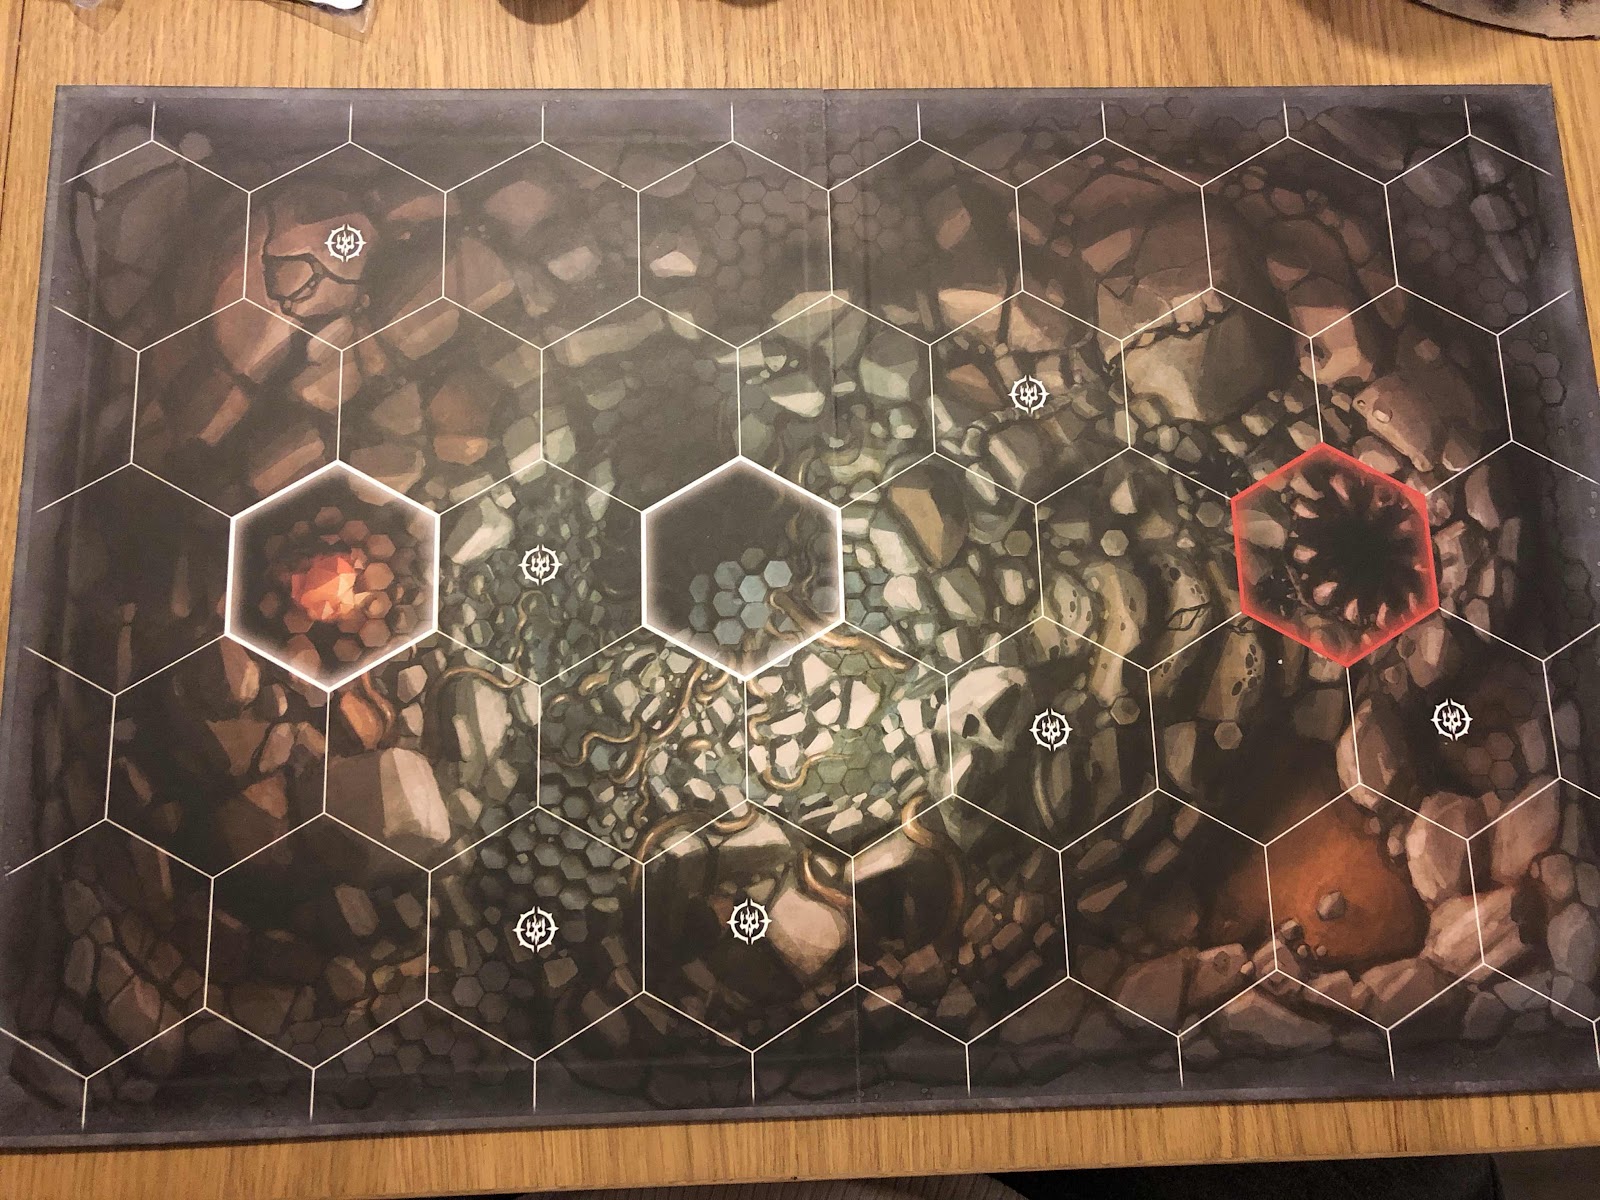
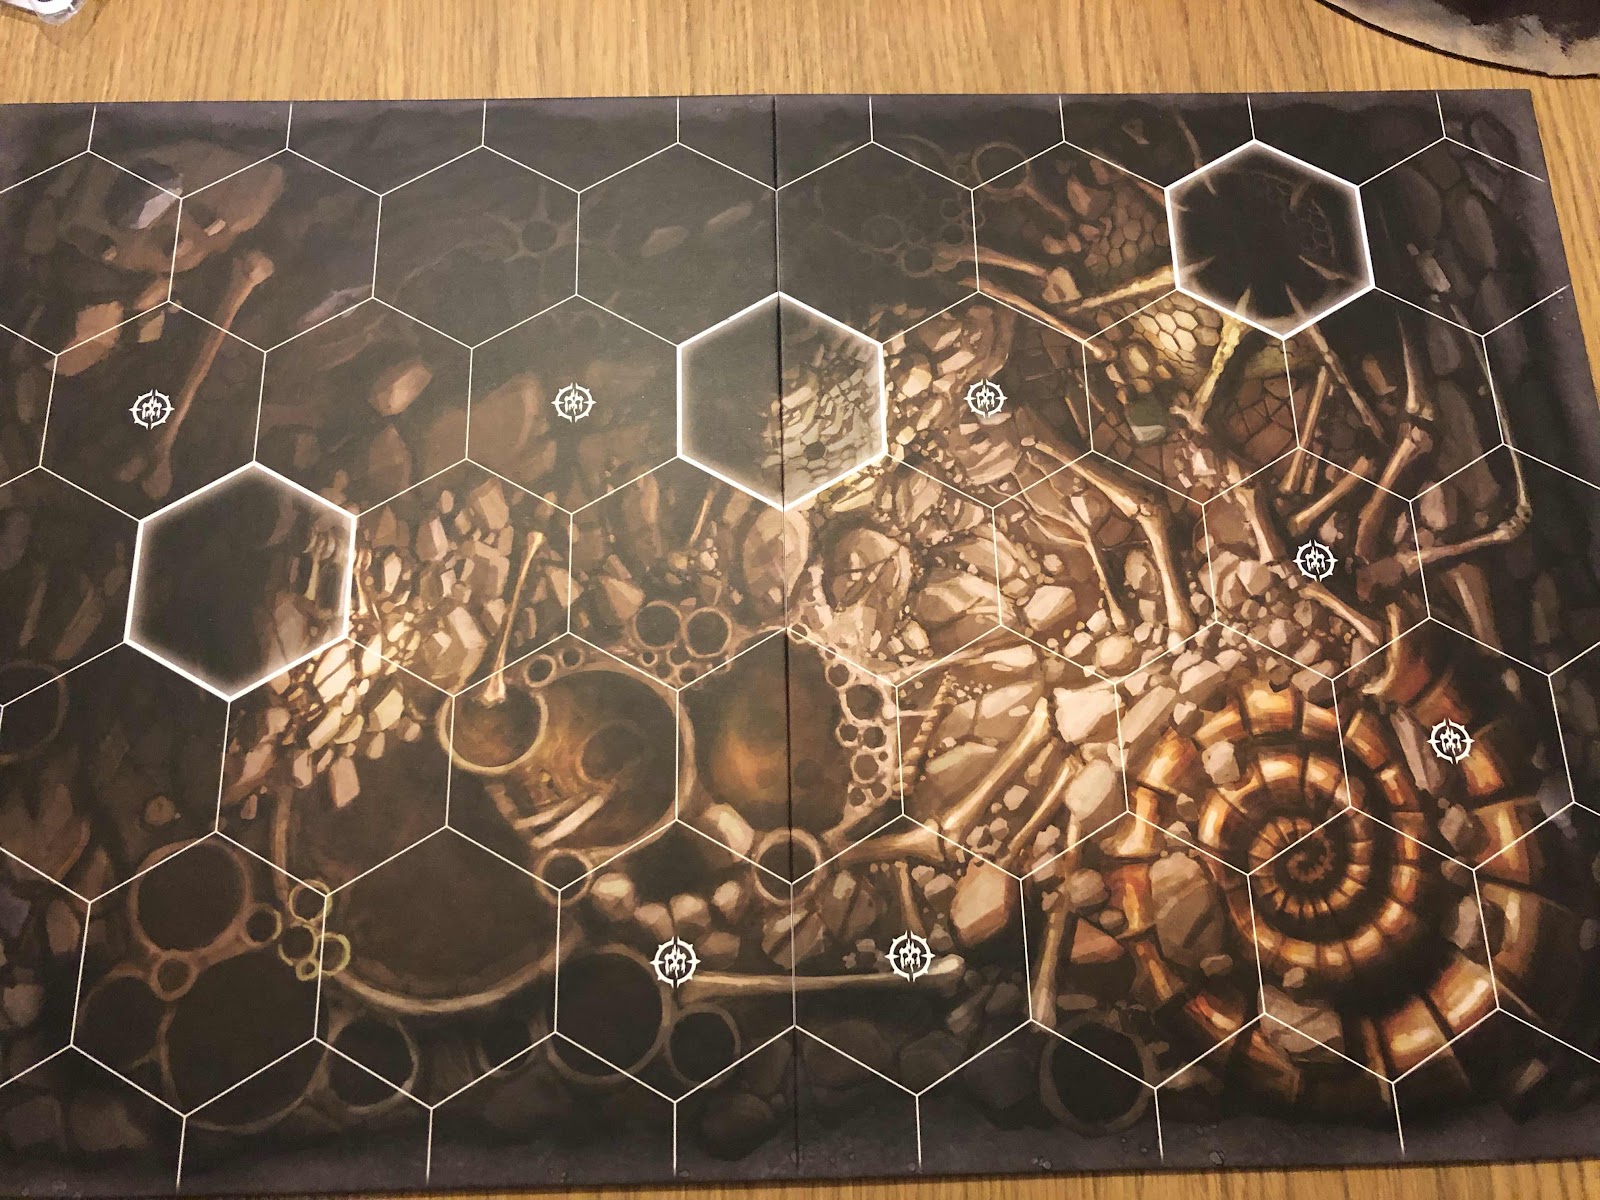
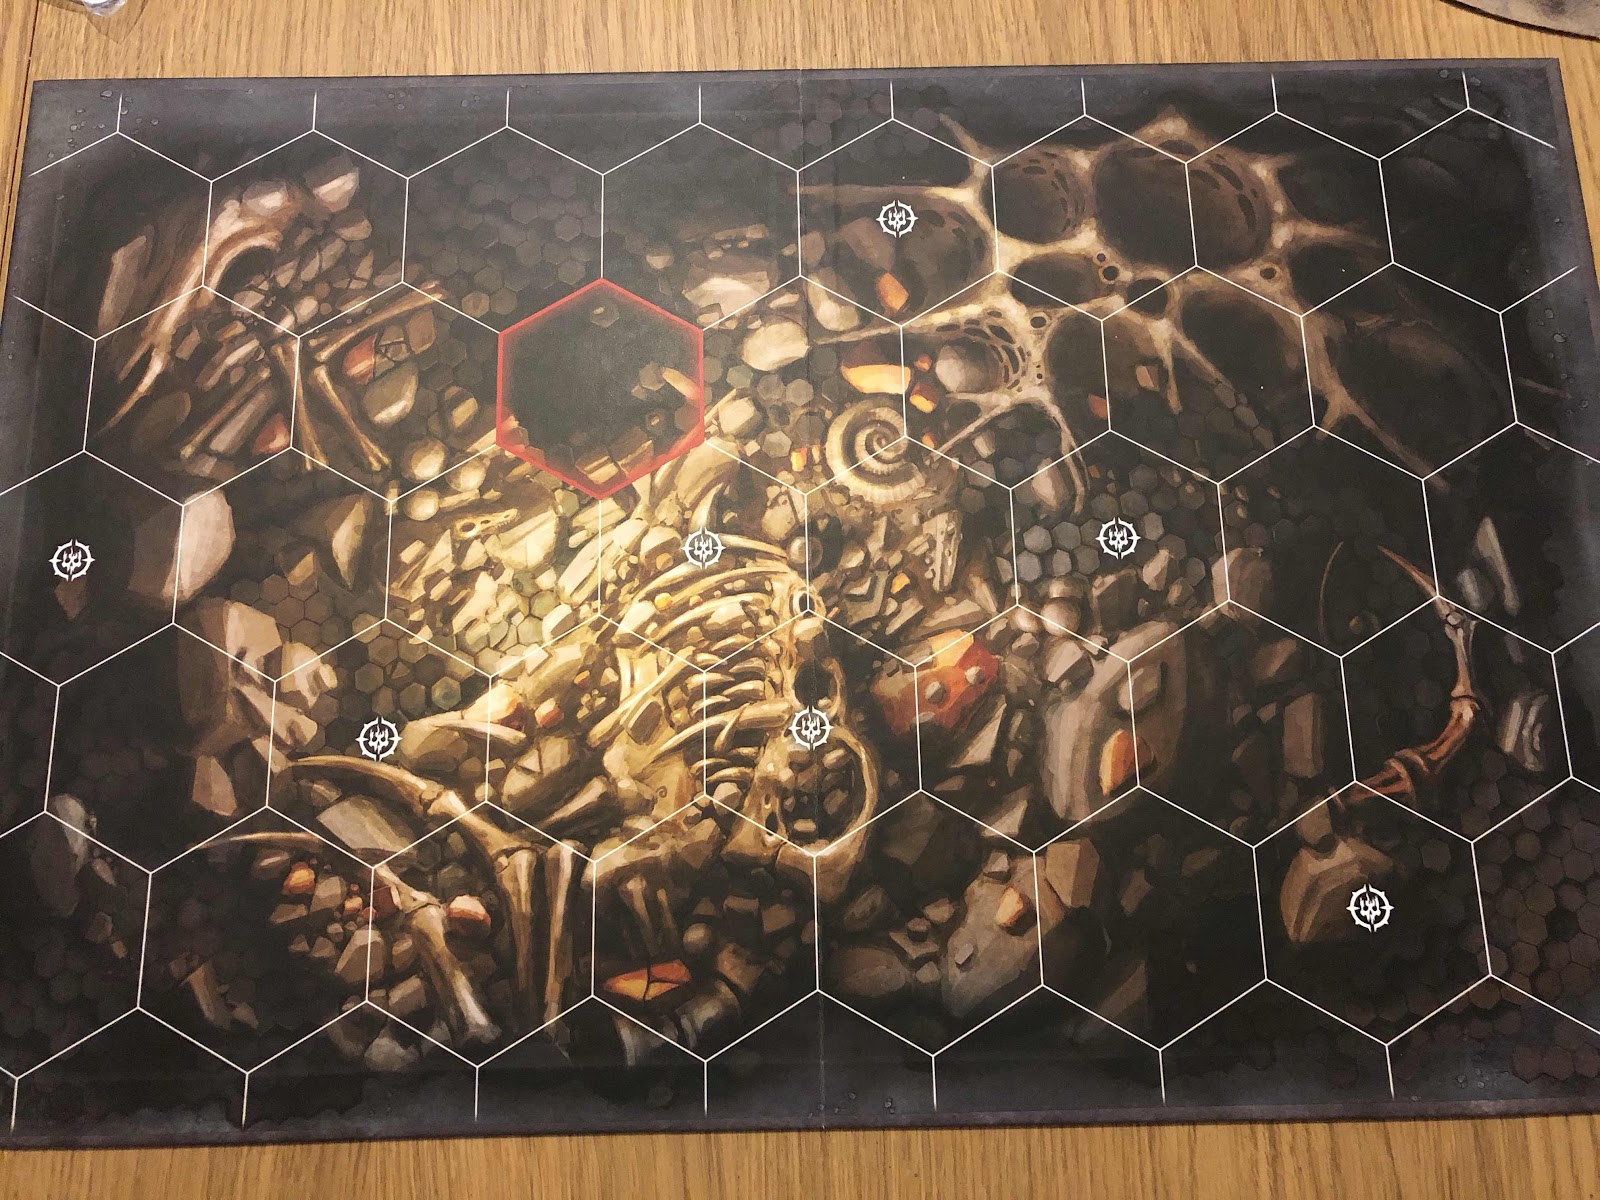
The moment they set foot inside the mountain, it has them. Tunnels wind and twist like a knot of writhing snakes. Dead ends and sudden drops abound, while even the largest open spaces are honeycombed with side entrances and twisted columns. Only a steady nerve and a predator’s merciless guile will see them through the horrors that lie ahead.
Nor is it only the mountain and it’s hazards that explorers must face, rival adventuring bands bring their own perils. Soon, many forget their original intent altogether. Thoughts of escape fade, drowned by the instinct to hunt, to slay and to revel in the bloody joy of the kill.
If all of this wasn’t enough, the Katophrane Curse from Shadespire, has bled into Beastgrave as a direct resale of the Necroquake. Now, once an adventure dies, the next day they find themselves resurrected, just to go through the whole circle again.
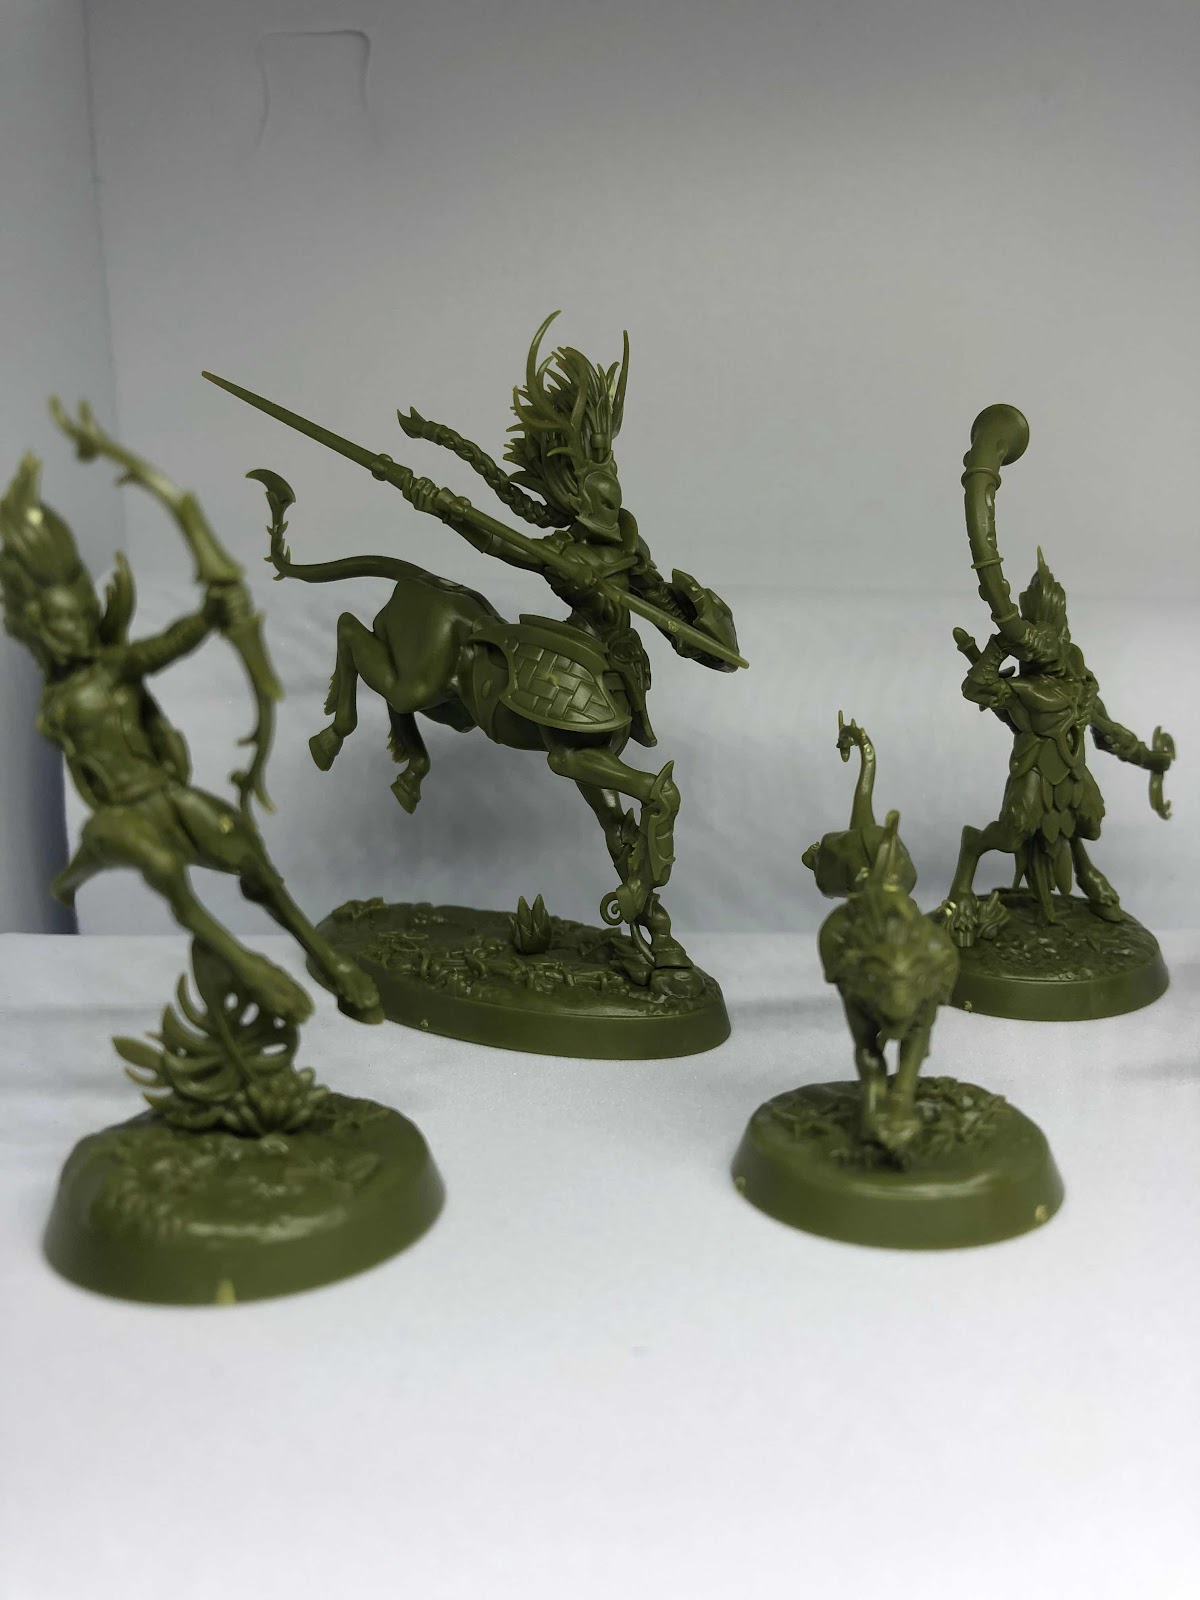
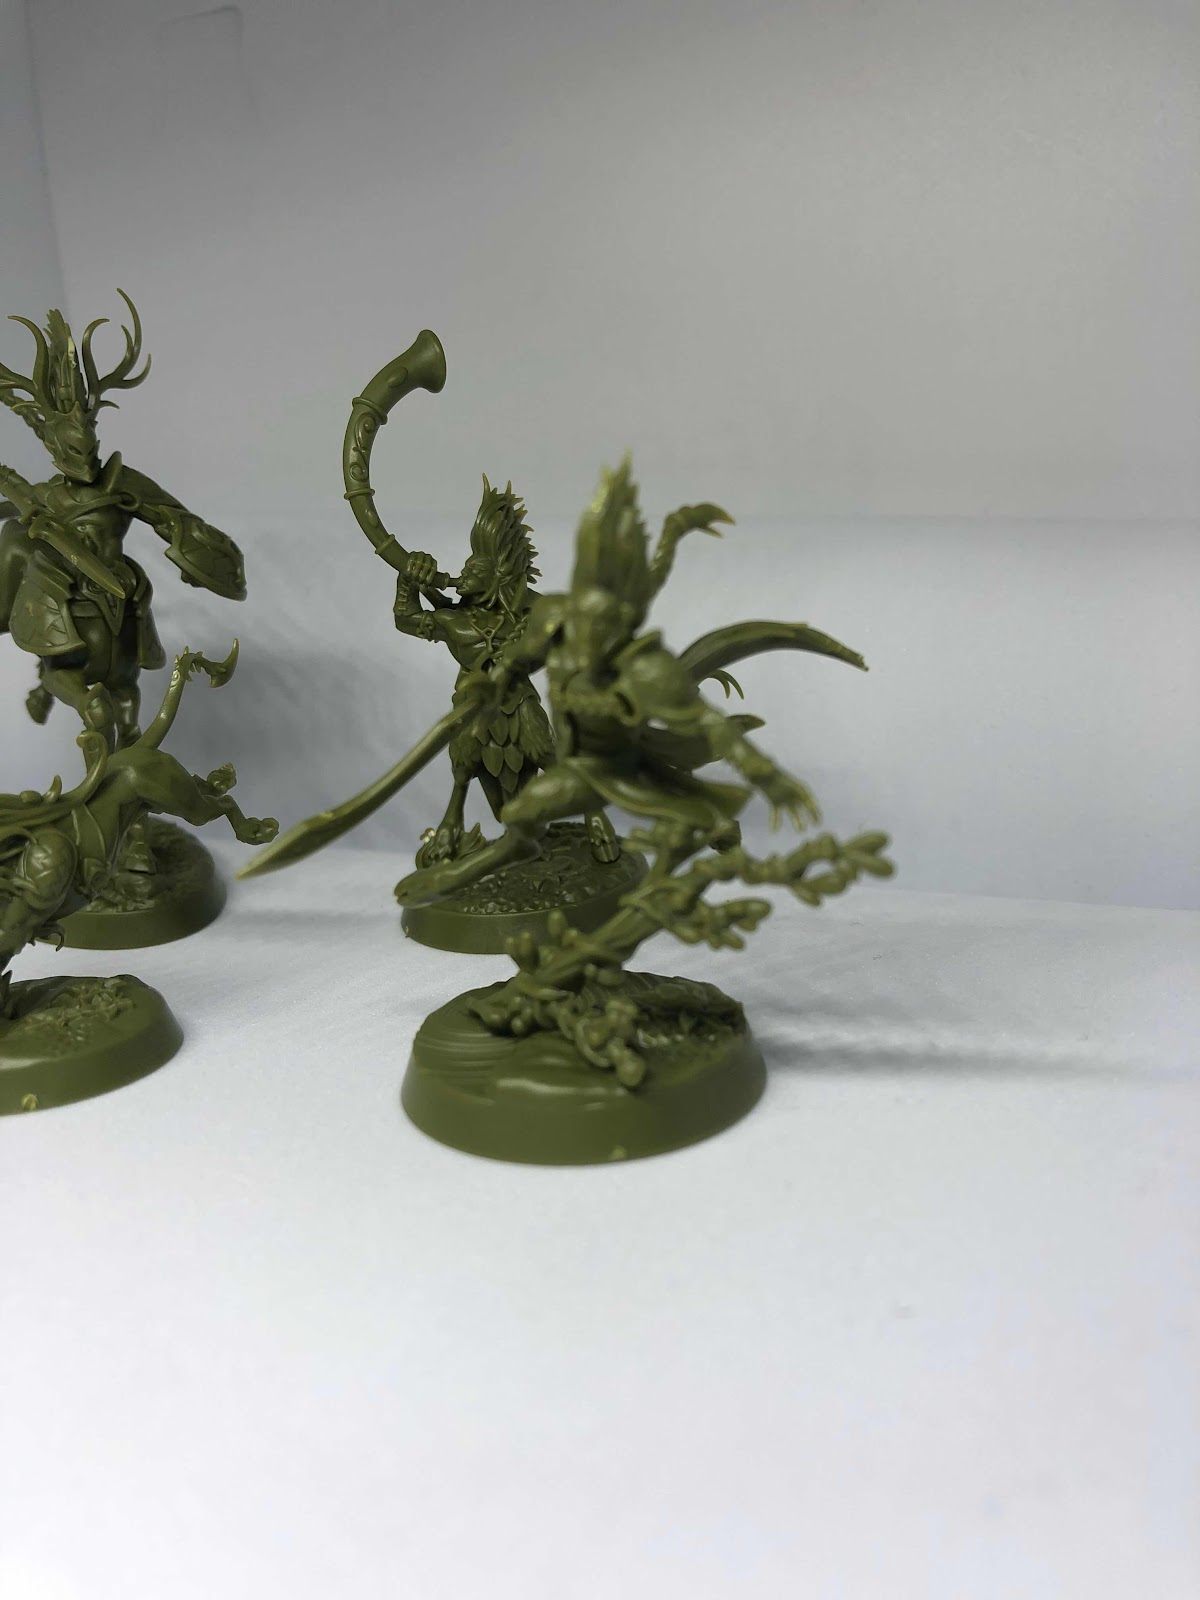
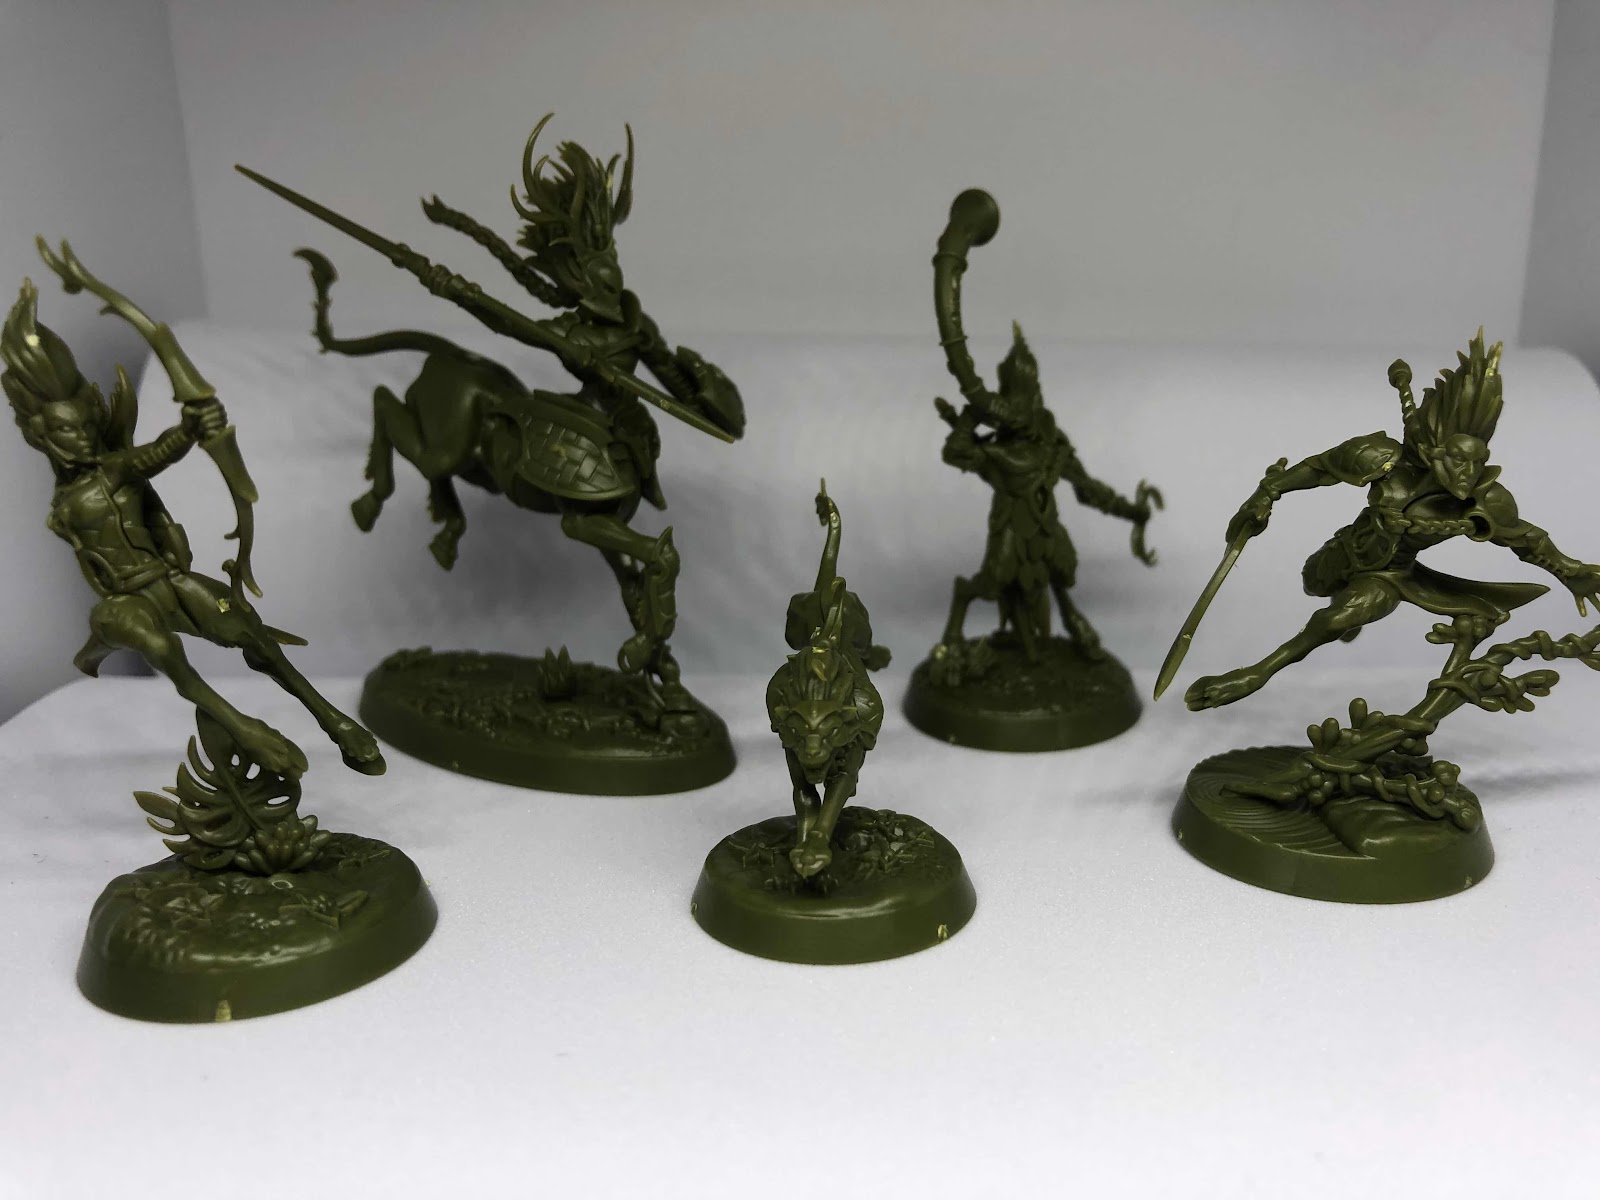
Skaeth’s Wild Hunt
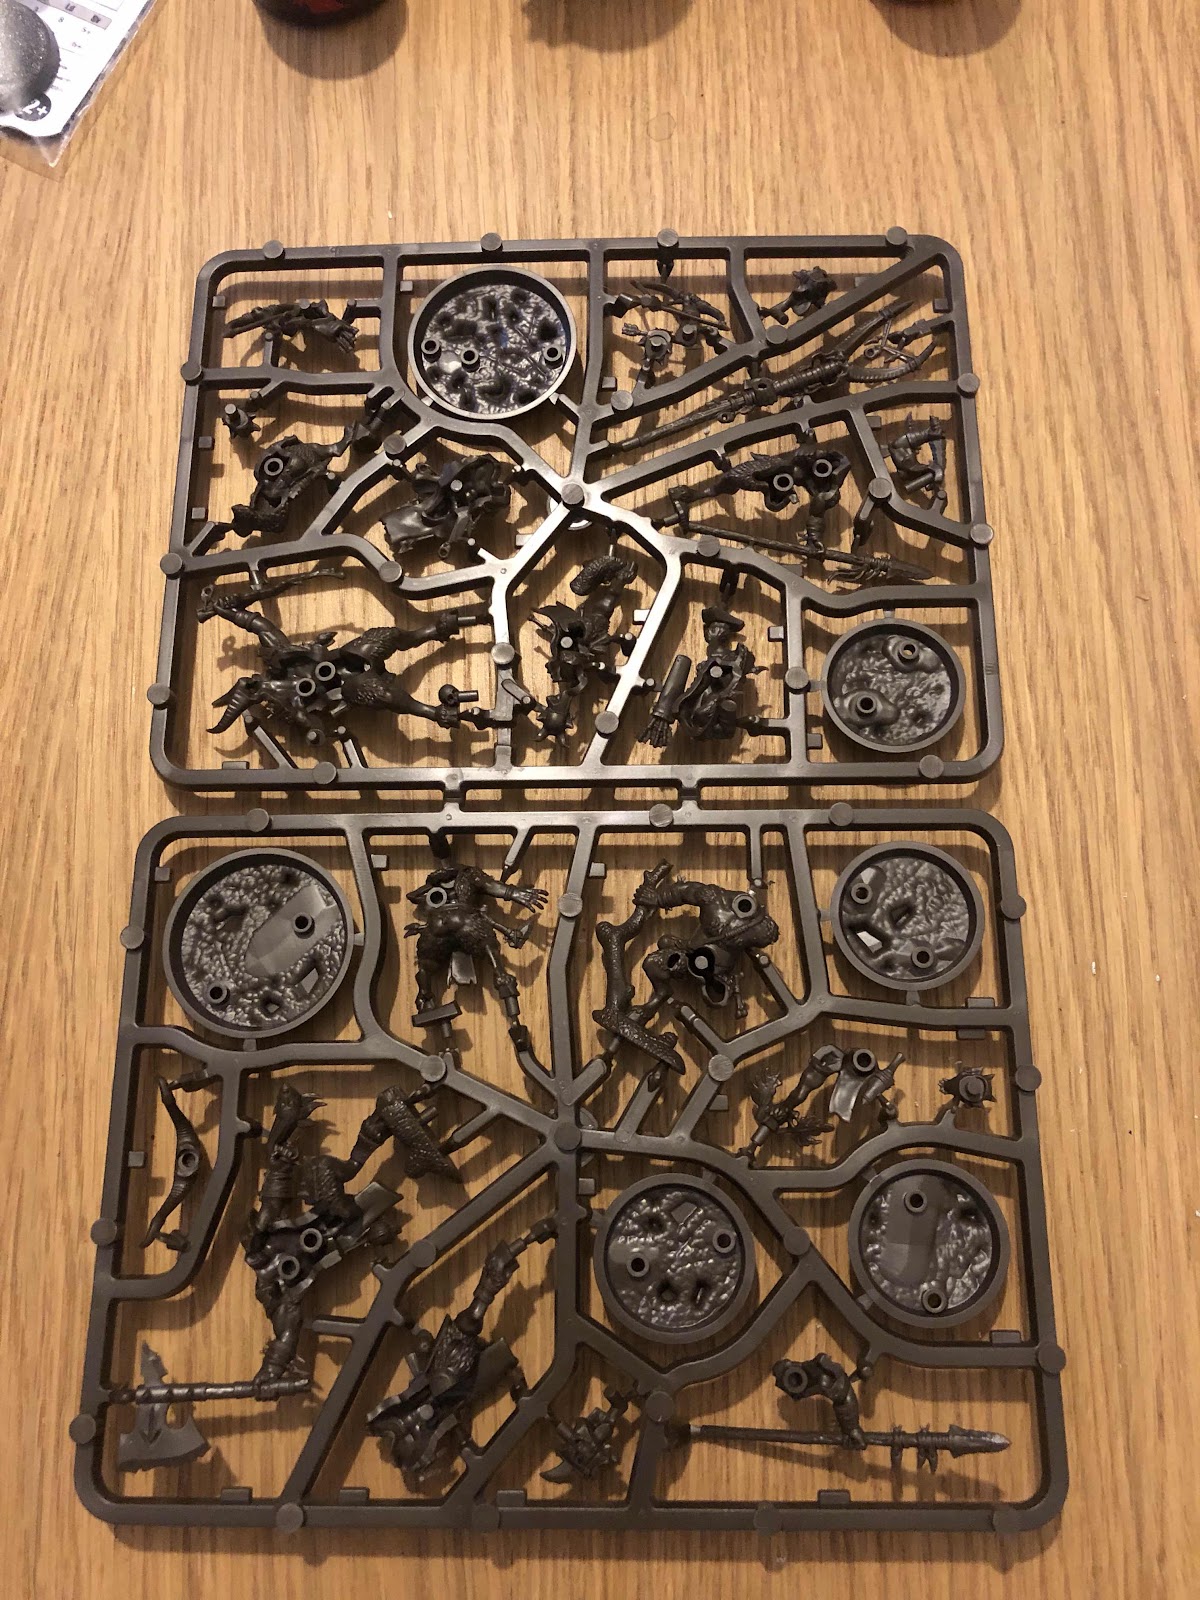
Skaeth and his companions are worshippers of Kurnoth, the god of the hunt. They prey solely upon those bringers of ruin, who desecrate the natural order. They rely on speed and agility to evade the many dangers of the battlefield. They wear lightweight armour, made to allow the swift and relentless pursuit of their prey.

Skaeth and his followers have plunged into the depths of Beastgrave upon what they believe may be their most important ever hunt. They seek to track down those beings infected by the Katophrane curse and slay them to ensure they do not spread their corruption further. Alarielle has sent them visions of the horrors that will transpire should the curse break free of the mountain. Skaeth also wishes to fight their way to the very heart of Beastgrave to slay the mountain itself.
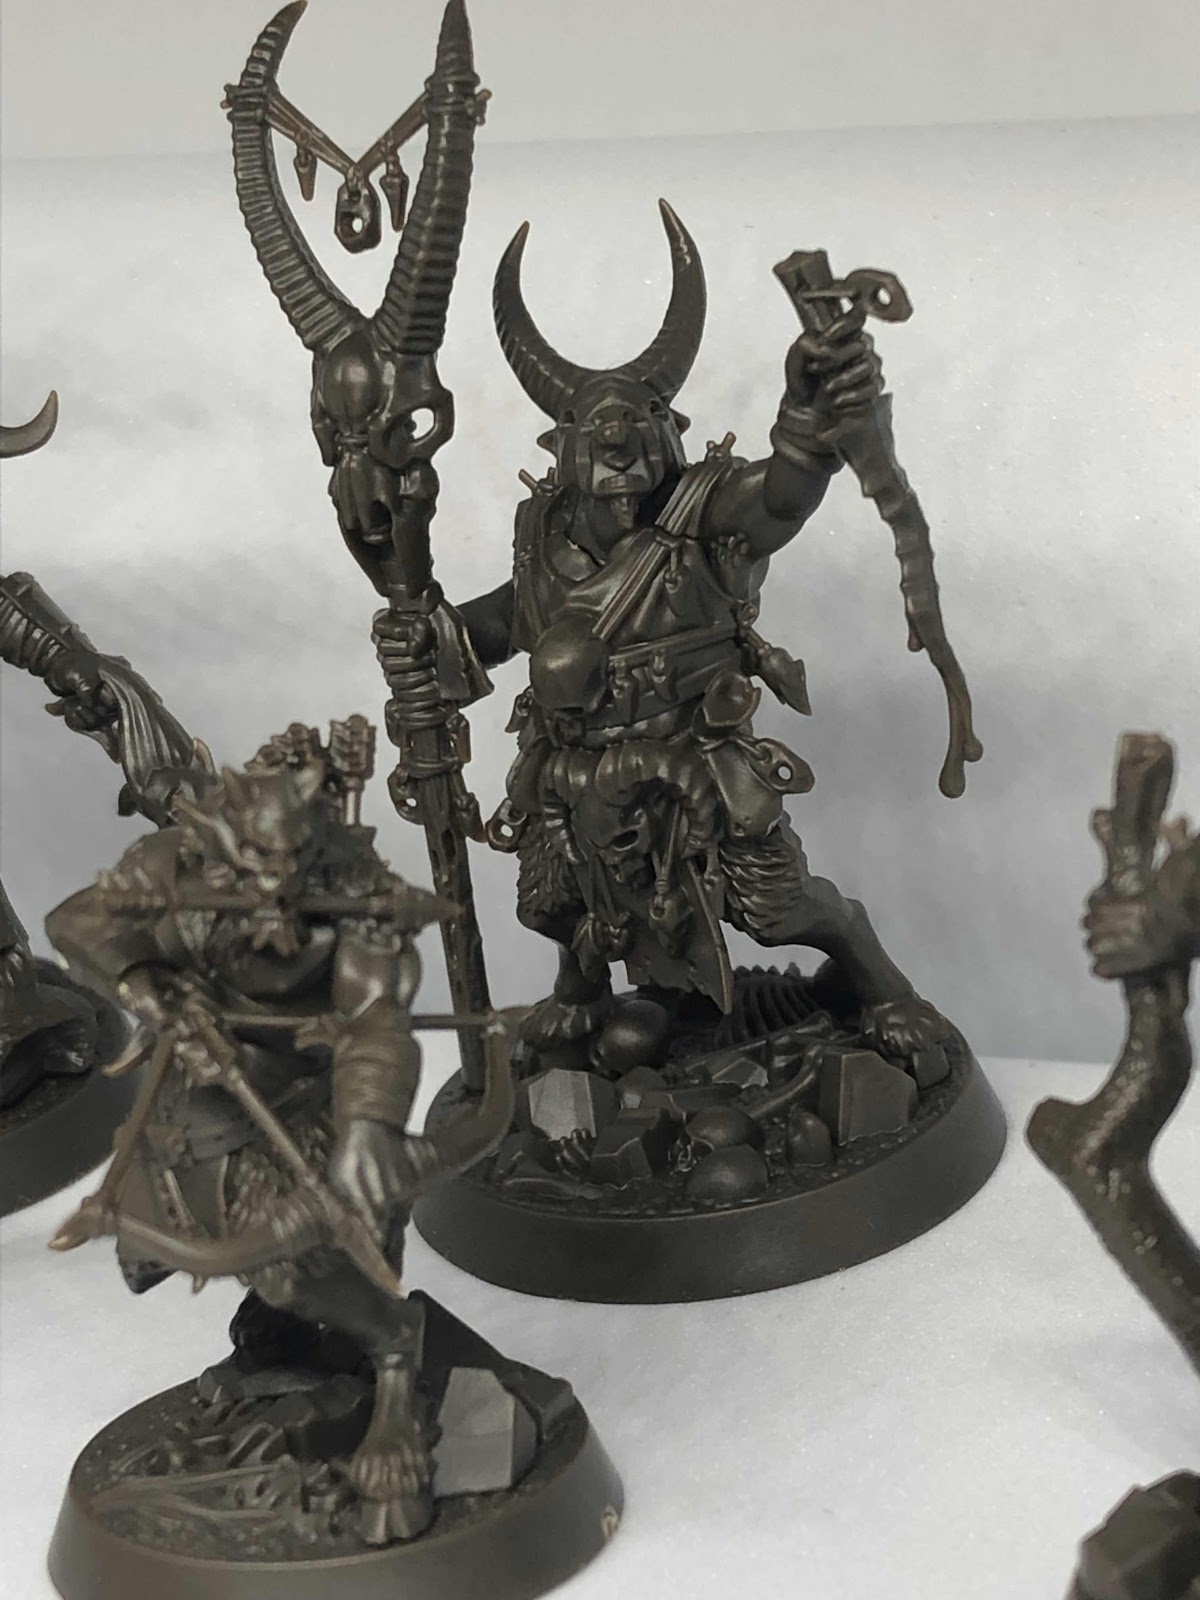
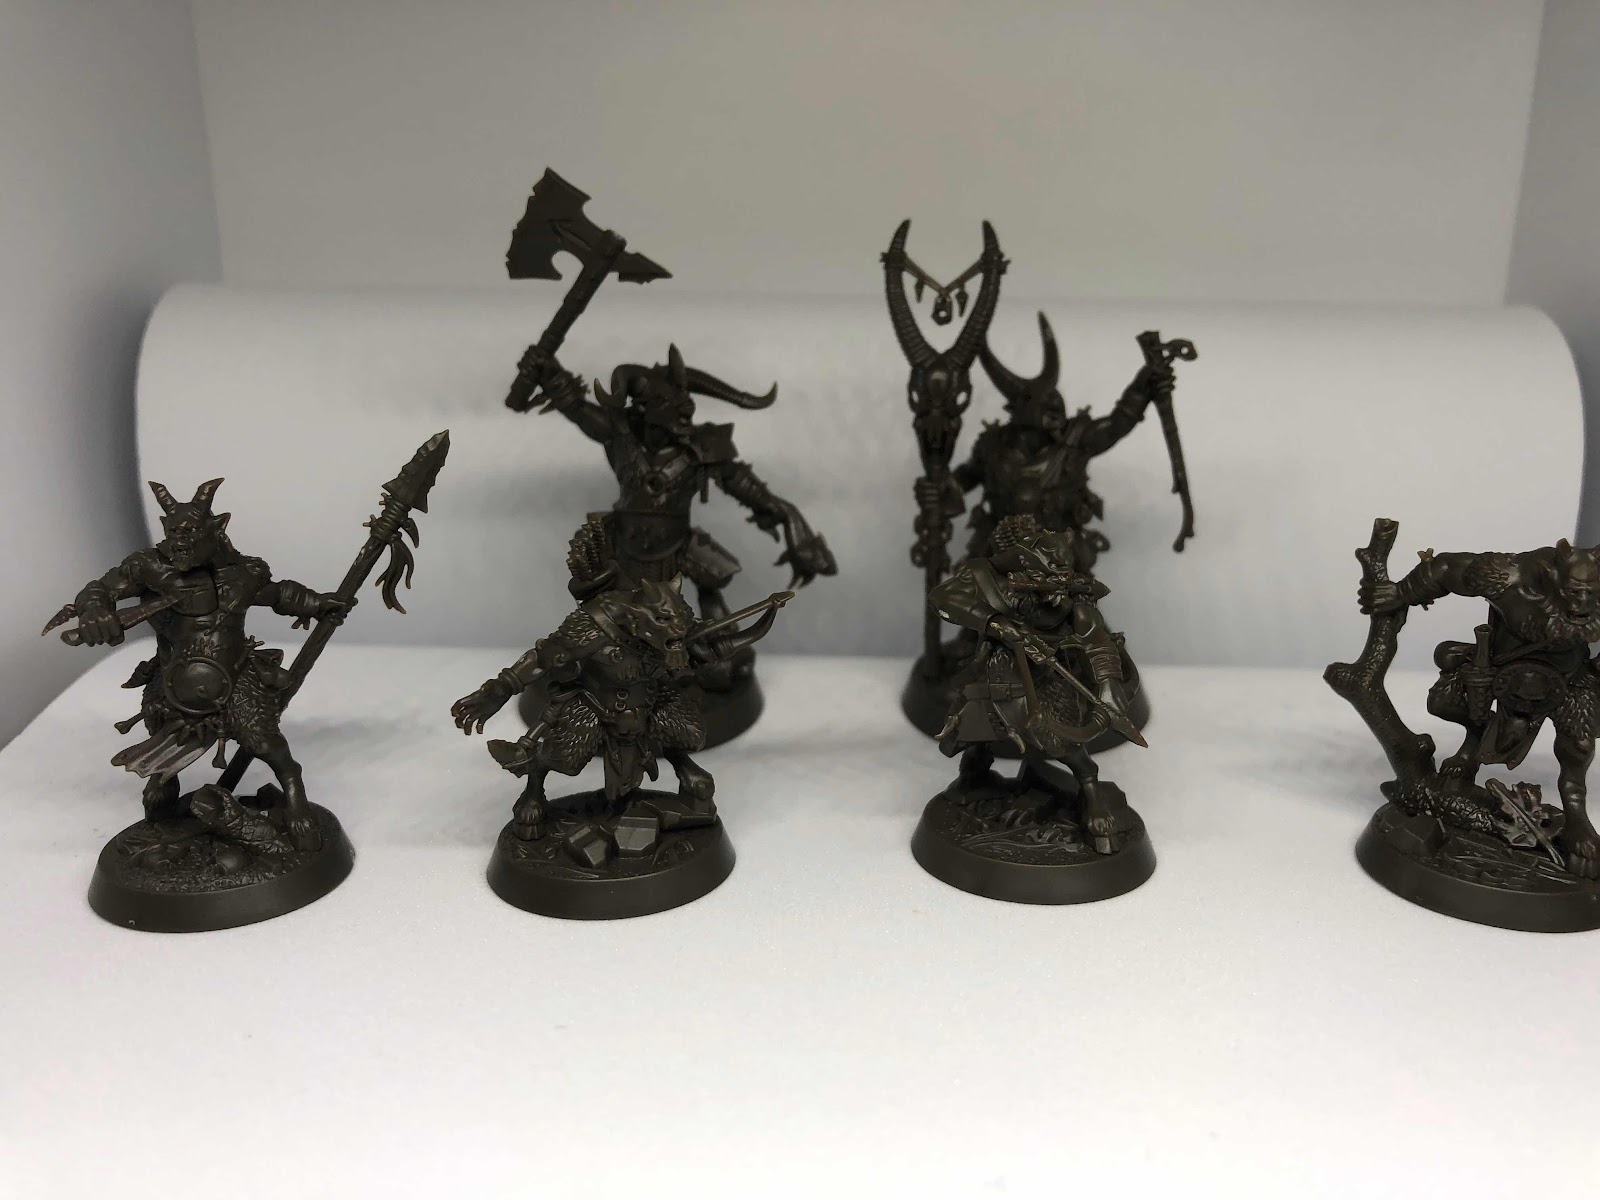
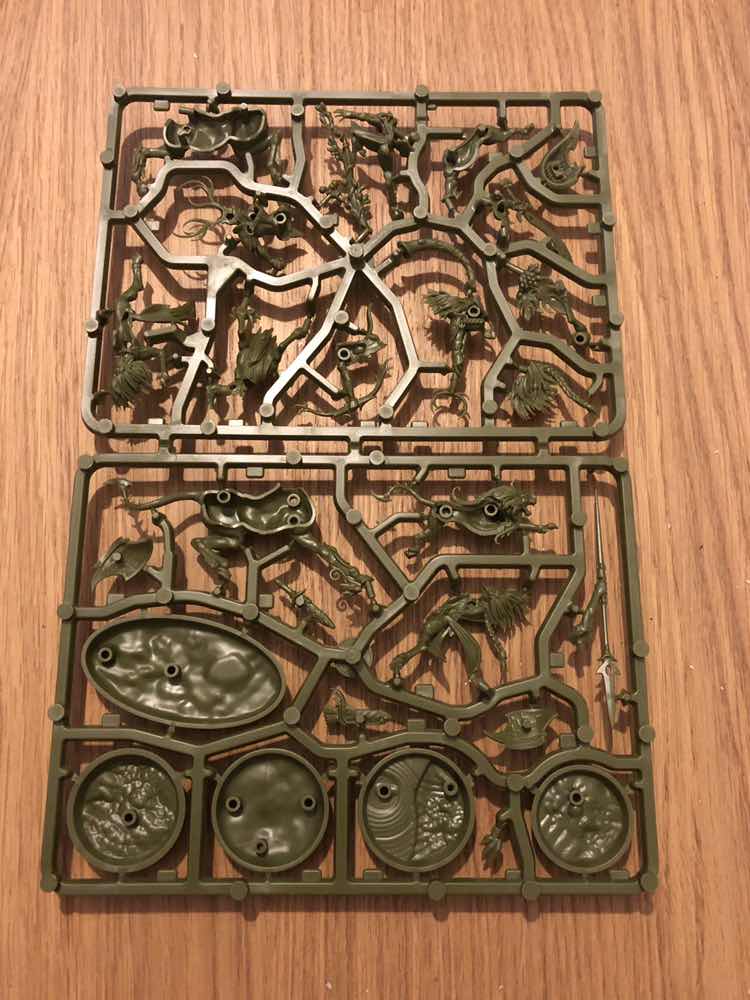
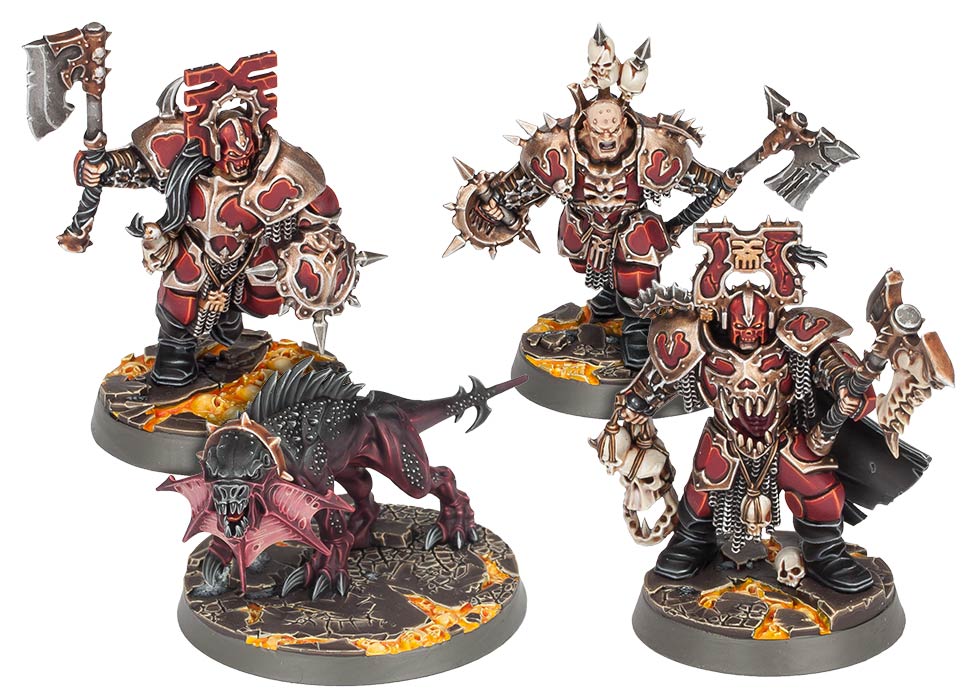
Grashrak’s Despoilers
The gor-kin of Grashrak’s Despoilers hate all things pure with a bestial vehemence that knows neither reason nor restraint. Having butchered a gore-slick path from the depths of the Gnawing Forest to the Wrything Hills, this herd of bestial brutes have now plunged into the tunnels of Beastgrave in search of fresh victims.

Grashrak Fellhoof is a Bray-Shaman who speaks the foul words of the bloodspittle tongue and conjures the mutating energies of Chaos to rend his victims’ flesh and broil their souls. He rules his herd through absolute fear.
Included in the rule book, are some small passages or some upcoming warbands. The first of these is The Grymwatch. These are Flesh Eater Courts, who of course believe themselves to be noble knights. The king, Ghorphang has charged his greatest courtier, Duke Crakmarrow with a truly heroic undertaking. He is to slay the great monster that King Ghorphang believes lurks in the depths of Beastgrave. The next one is Rippa’s Snarlfangs. Rippa Narkbad is a disgraced, exiled Bossboy, formally in high favour of Gitlord Skraggle. Vowed that he would have revenge on Gitlord Skraggle, Rippa have gone to Beastgrave with his two best ladz, in search of a magnificent loppa, that he believes will take the head of Gitlord Skraggle in one fell swoop.
Overall, I really like the lore behind the warbands we currently know about, however, I really do not like the whole part about the mountain having a will and luring people there. I feel that there are cases where less is more, and this is one of those cases. It’s just not needed.
Let me know what you think in the comments down below.
Go to our friends at Battleground gaming an use the code BEAST to get 24% off Beastgrave now. https://battlegroundgaming.co.uk
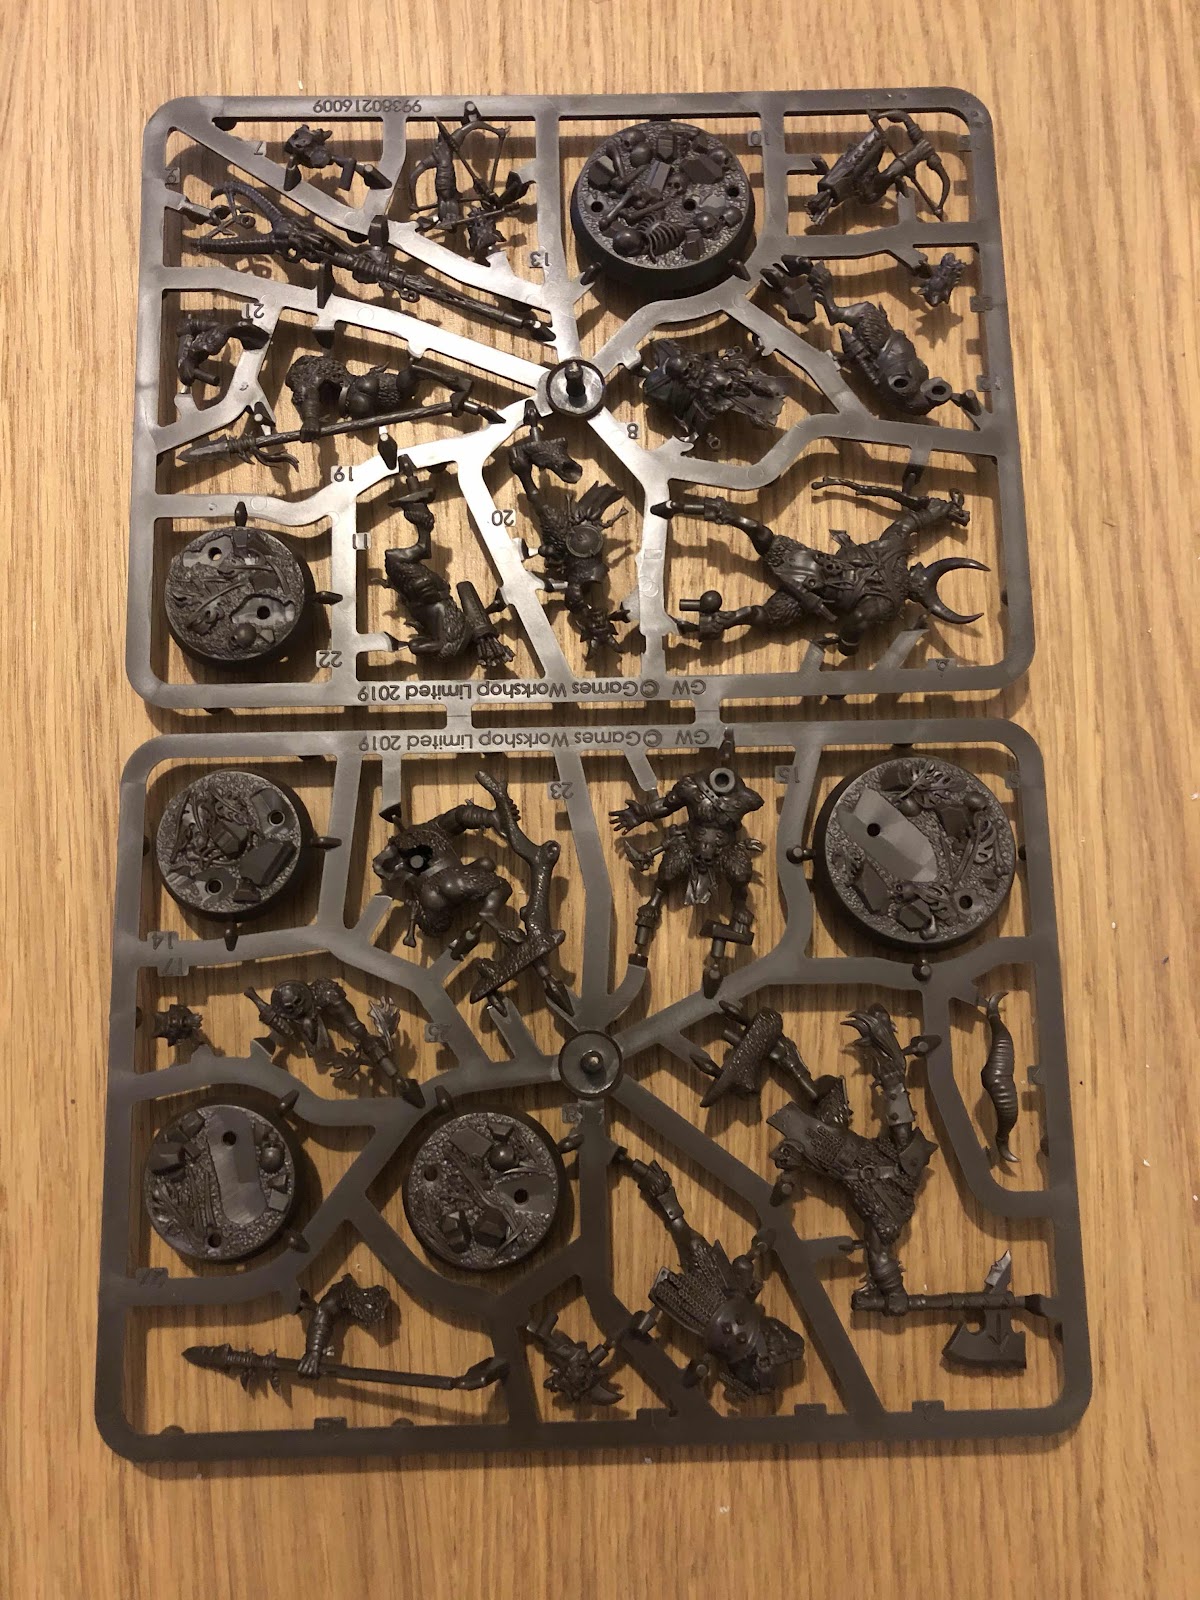
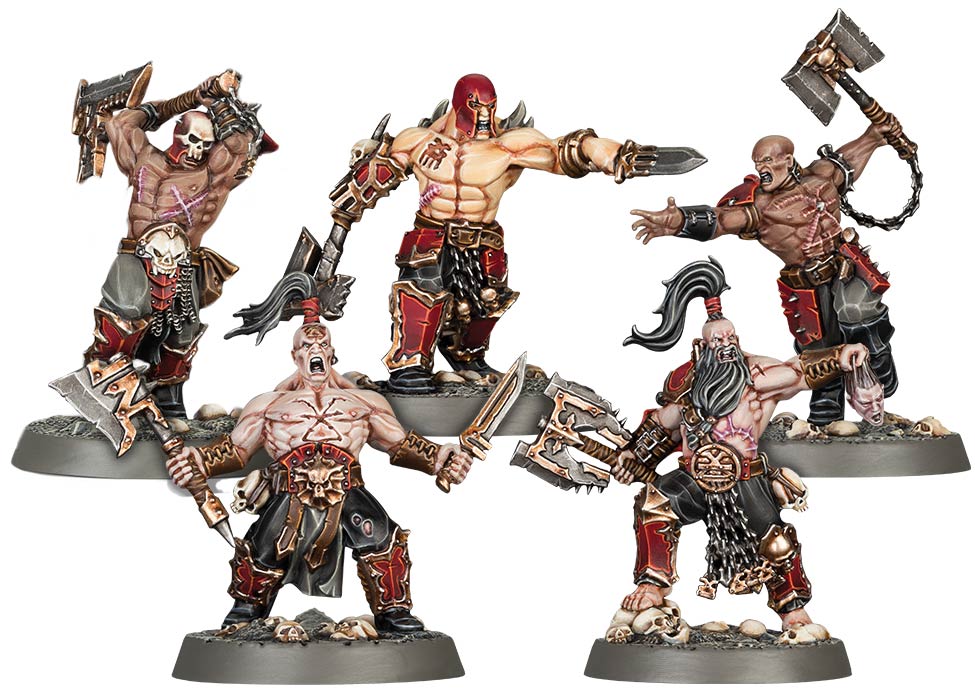
Next up I will show of the actual models that come in the boxset.
Stay tuned :-)


